| Restocking Fee | No |
|---|---|
| Return shipping will be paid by | Buyer |
| All returns accepted | Returns Accepted |
| Item must be returned within | 30 Days |
| Refund will be given as | Money Back |
| Brand | APM |
| Model | mitutoyo |
| Indicator Type | Dial Indicator |
| MPN | Does Not Apply |
| Country/Region of Manufacture | United States |
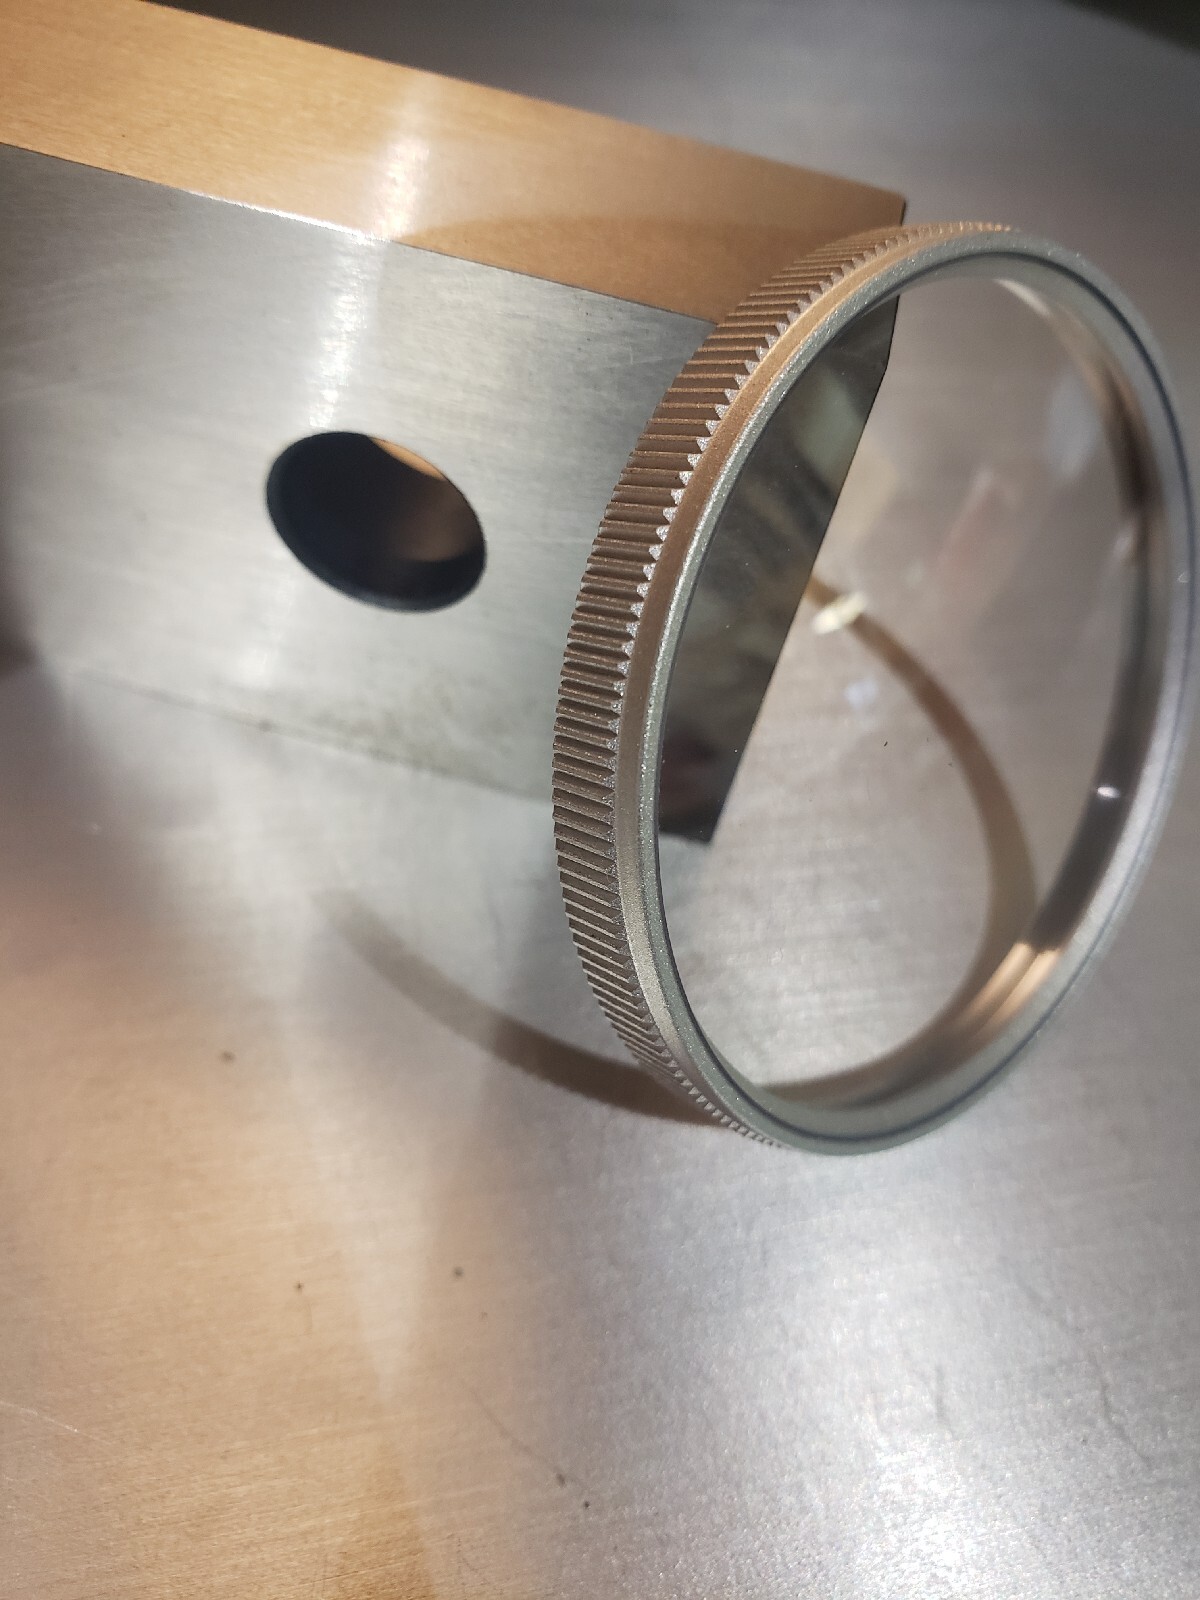
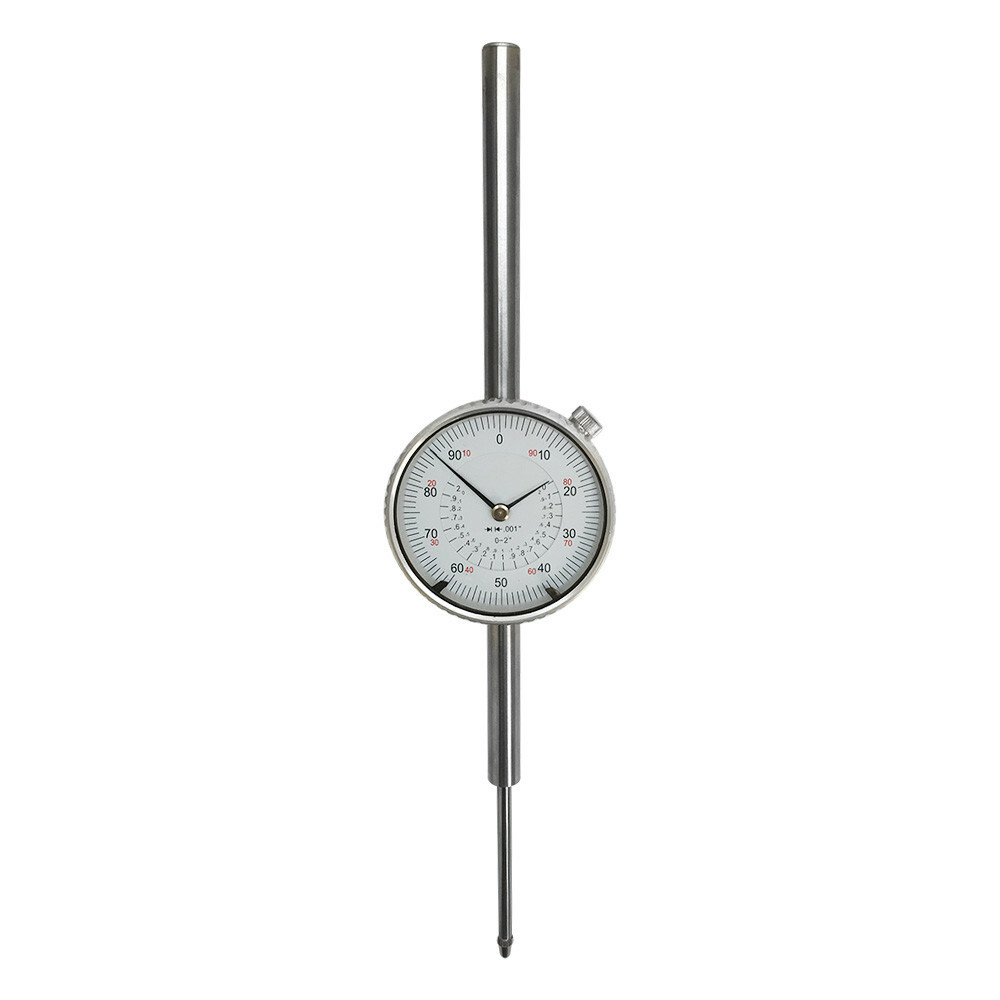
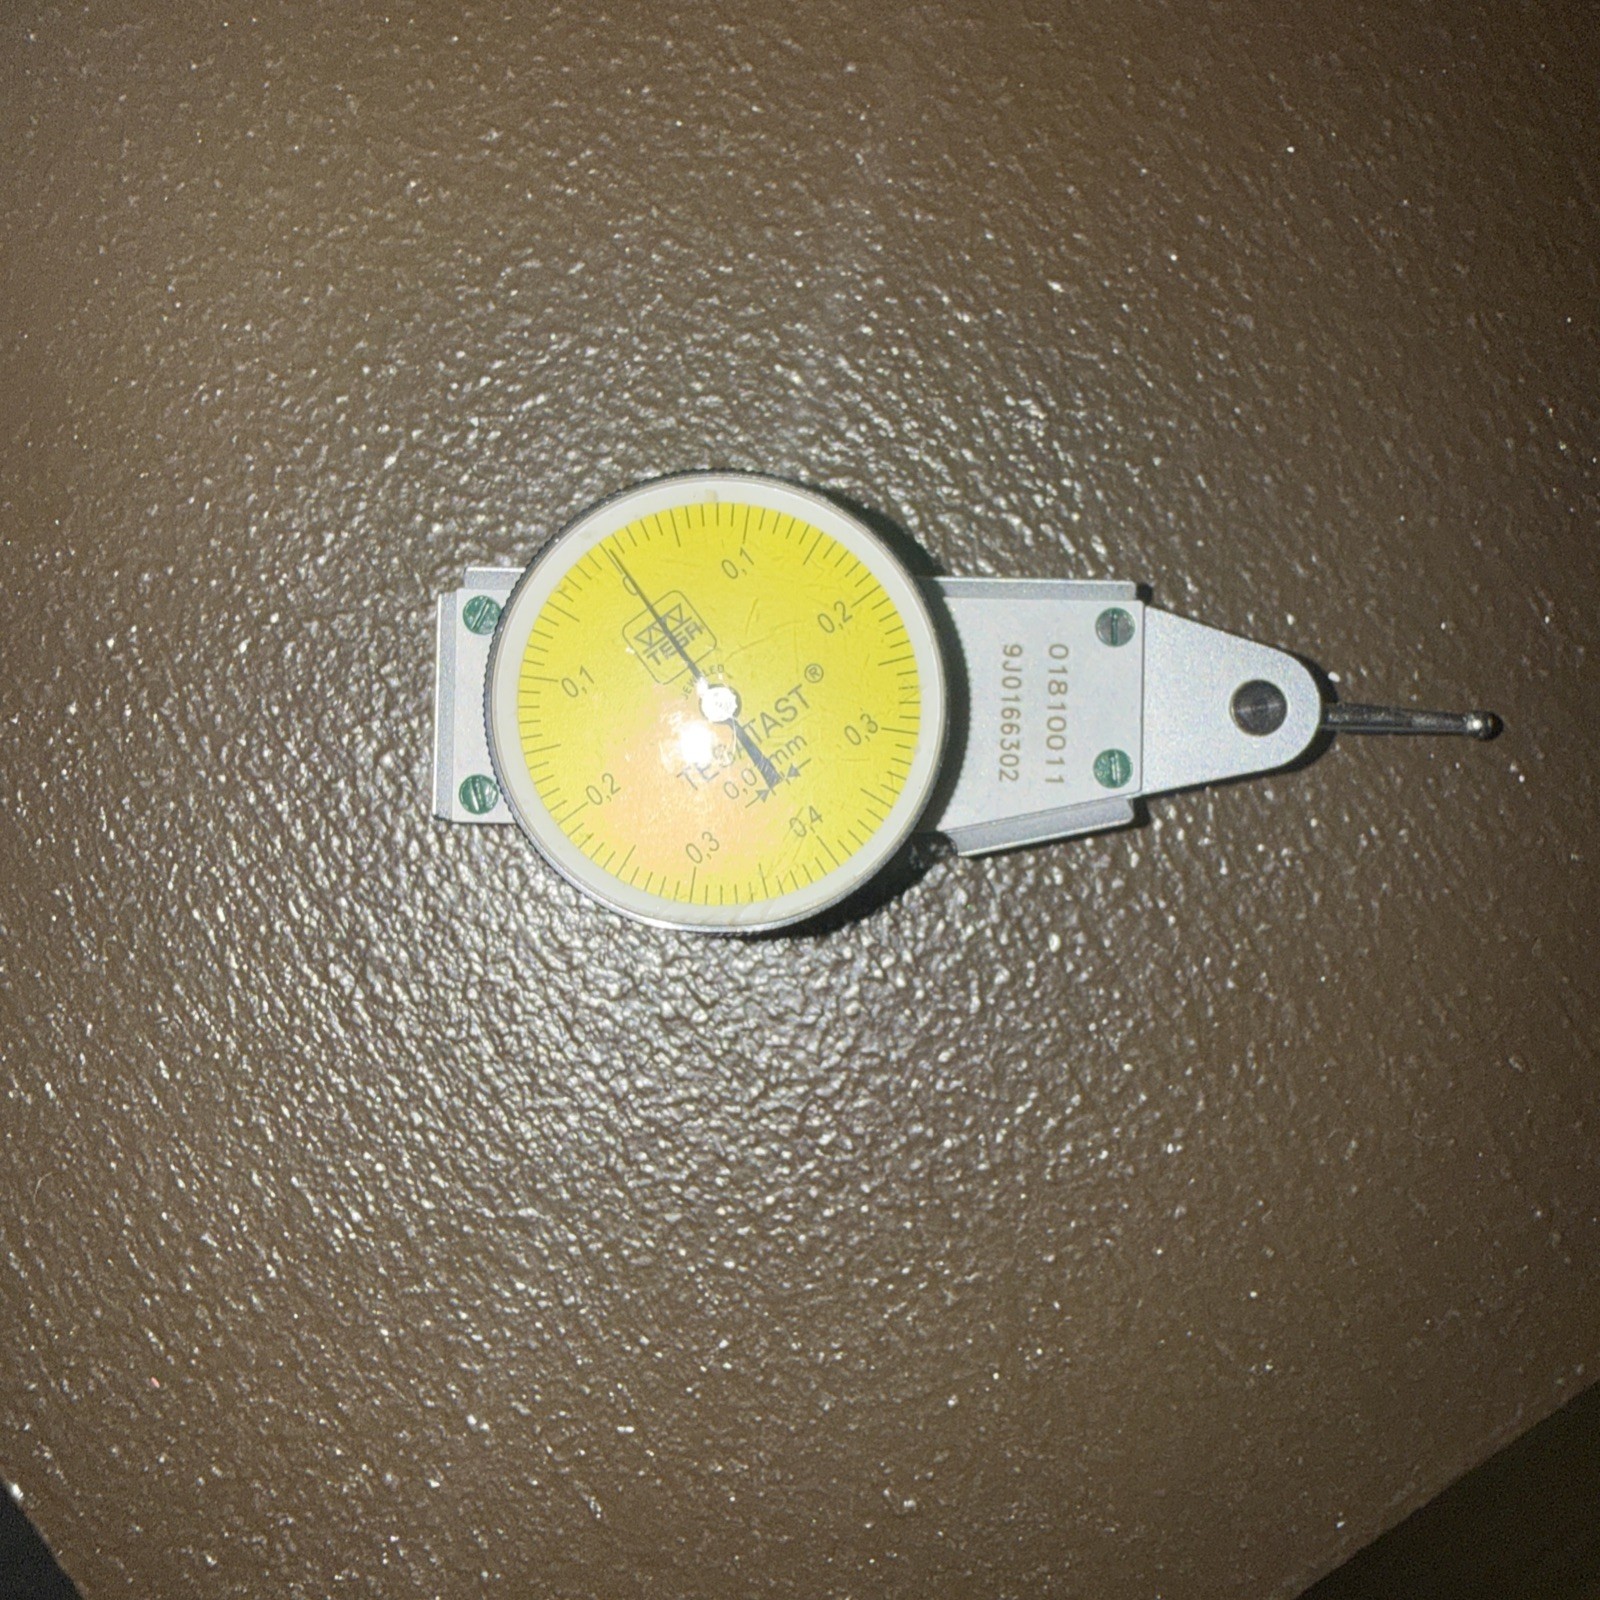
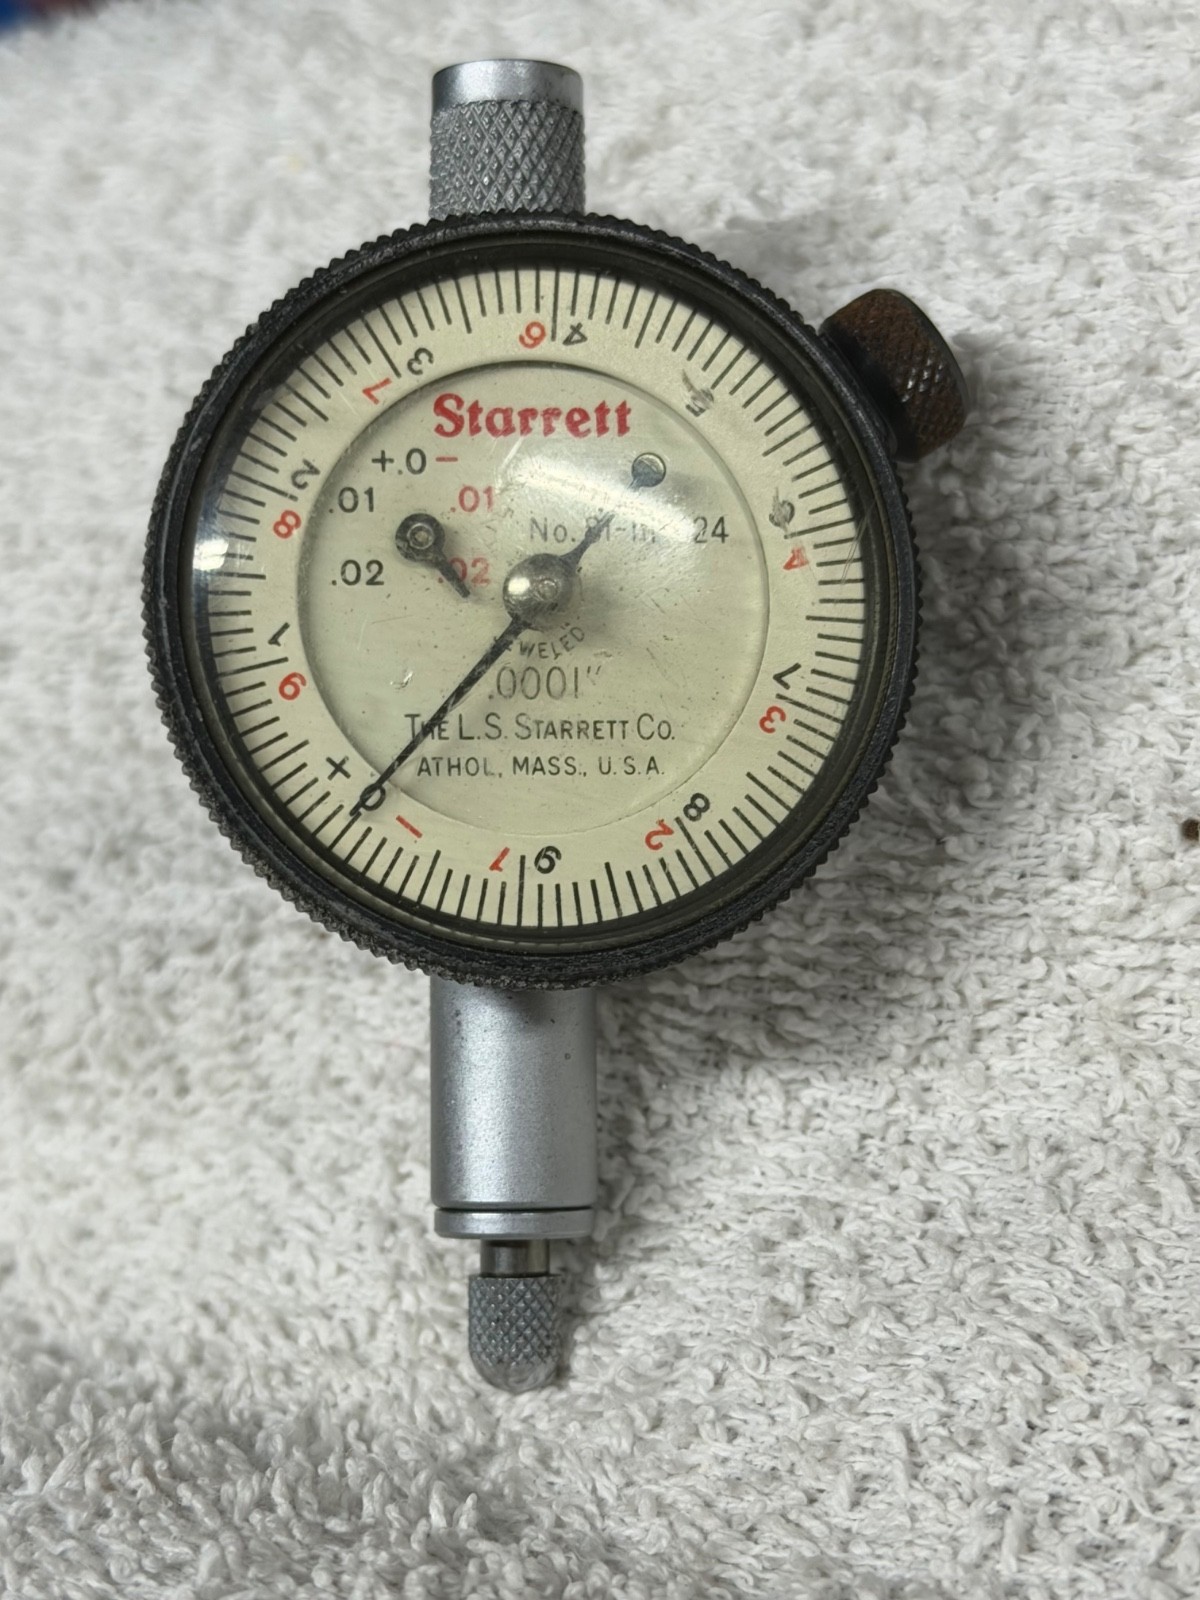
Check the listing for details. New bezel with lens only for Mitutoyo dial indicator made in USA.. Condition: New. Listed at 7.99 USD. Indicator NOT included, only lens and bezel. These are new replacement for Mitutoyo indicators. Fits Mitutoyo indicators: 2416 2416-10 2412-08 2416-10 2410-08 And many others, the list is very long and Mitutoyo used this bezel on many models. Check your inside diameters for fit. Number plate inside diameter 2.020 " (see picture). Outside diameter over knurl 2.176 "(see picture) Lens is pressure set into bezel, dome shaped crystal. Compatible with orginal standard Mitutoyo lens if at a later date you need to replace only the lens. Indicator shown in pictures for reference only to show precision fit and quality. Why buy just a lens and then try to pressure set it yourself. Easy replacement, check out utube videos how to install a dial indicator lens. Tips and tricks: If your number dial spins in bezel. Very carefully crimp outer edge, catch only .03 of the edge so it wont show when assembled. You will see the other Mitutoyo crimps in 3 places. You will only need 1 crimp maybe. Just a very light crimp only as you only need .001 to .002 . Ive found many times no crimp is needed. Seat dial plate in bezel completely before installing onto indicator. Use a no scratch cloth. I use lens cleaning tissues made by Uvex when repairing indicators here. If you use a clean shop cloth, very lightly press when cleaning using window glass cleaner such as windex. Safe to use for cleaning number plate also. Instructions: 1. Remove 4 screws on back cover. Remove cover 2. See picture with screw driver and pointer. Pull looped spring towards center. Lift bezel while holding spring. Be careful not to loose the spring. Most springs will have a extra bend in them that retains it. 3. Turn over indicator and lift from the side you released. Be careful of the indicator marker. 4. Lift up about 1/8" and move lens/bezel to opposite side slightly. This unhooks the opposite side from a spring ( spring is shown in pictures) Be careful not to loose the tiny springs. 5. Apply light amount of grease over springs to help free movement. 6. Install new bezel in reverse order. 7. Don't over tighten the tiny screws on back cover. Shipping discount when buying more than one. It will auto calculate at checkout. Excellent quality made by APM. See our other precision machinist tools. Check my 100% ebay reviews and be confident when buying.
You may also like

![Shars Precision .030" Dial Test Indicator 0-15-0 0.0005 Graduation !]](/image/LDQAAOSwiZBlcg82/shars-precision-030-dial-test-indicator-0-15-0-0-0005-graduation.jpg)