| All returns accepted | ReturnsNotAccepted |
|---|---|
| Brand | Knight |
| Modification Description | New copies of old books in in a single collection. |
| Product Type | Manual |
| Country/Region of Manufacture | United States |
| Modified Item | Yes |
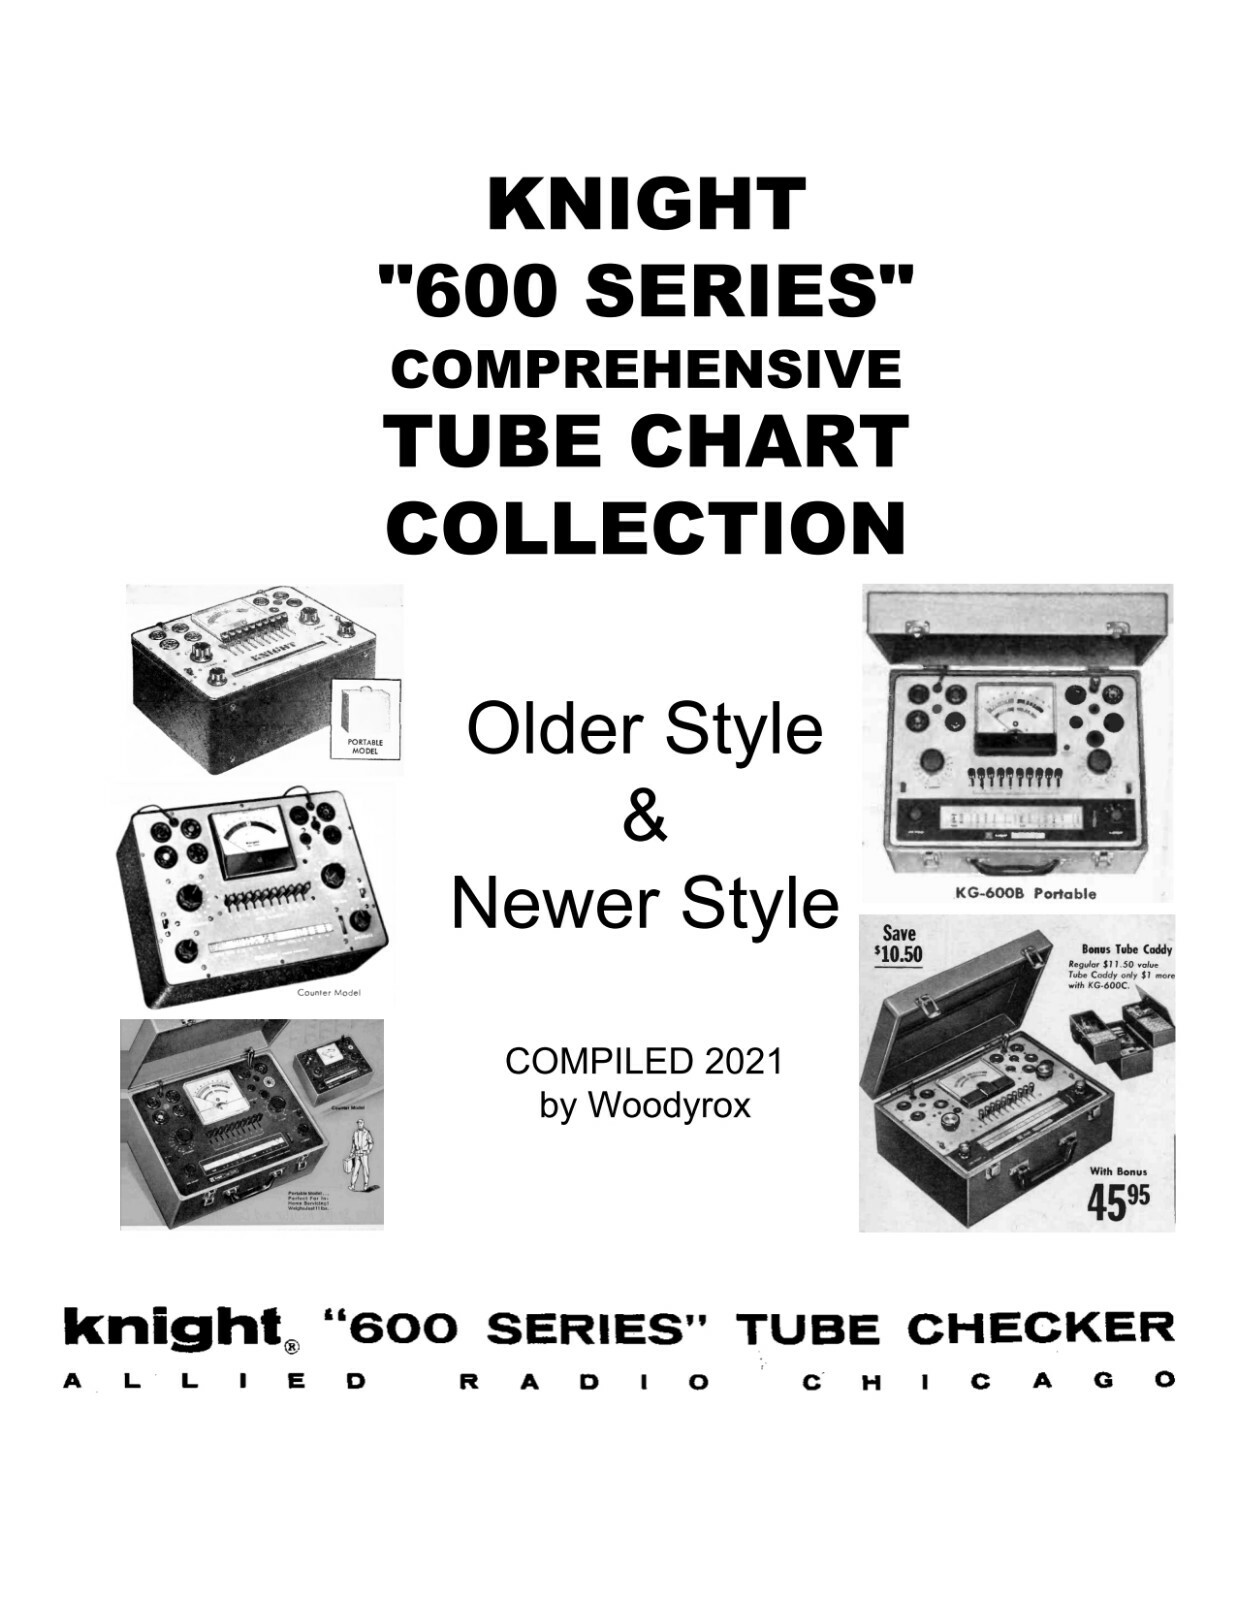
Check the listing for details. Manual & Tube Set-Up Charts for all Knight 600 Testers with or w/o Model Numbers. Condition: New. Listed at 14.65 USD. You hit the mother lode here. This is a comb bound, printed, complete documentation set for the Knight & Knight-Kit emission tube testers. This collection of reproductions is everything you would need to assemble, maintain, repair and use your Knight tube tester. It's a big book with clear front and thick back oversize covers. You can choose the assembly / instruction book for your tester, and they all come with the same collection of test set-up charts. Or you can choose a book that includes the test set-up charts plus assembly / instruction manuals for the Model 600, Model 600A, and KG-600B testers. These are copies of vintage originals, some of which weren't the best even when new. Some of the construction books have check marks in the assembly steps. There are also some underlines, but all books are readily legible. This description is long because a lot of documentation is included for the vintage "600 Series" of large Knight and Knight-Kit tube checkers / testers. Many had no identifying model number anywhere. The assembly / instruction book that applies to your tester depends on what your tester looks like. The same test set-up charts are included for all tester models because the charts are fully interchangeable with all but the oldest, un-modernized Knight testers (Models 142 & 143). You can still use these charts with the oldest Knight testers as described below. Relevant Knight Tube Tester Models Allied Radio started making tube testers in the 50's under the Knight and Knight-Kit brands. Allied struggled with giving their tube testers a model number. Their earliest testers had no model number or any identifying info on the tester. It simply said "Knight TUBE TESTER" on the panel. They were all pretty much the same, and looked very similar. The biggest difference was in the number of test sockets they had. The later testers had more sockets and could test more tube types. One variation was if they were countertop (no case lid) or portable (with lid). Another variation was if they were kit or factory built. This gave the tester a different part number in the Allied Radio catalog, but they were all very similar testers. The first "600 Series" testers weren't even a Model 600. Circa 1955, they were Model 142 or F-142 (portable, p/n 83FX142), and Model 143 or F-143 (countertop, p/n 83FX143). Some of these units had a big bold KNIGHT on the panel between the lever switches and the roll chart window. Also, these early models had 14 instead of 16 filament voltages. In 1958, Allied introduced the updated 83YX142 and 83YX143 testers. These were very similar, but had 16 filament voltages. Allied also sold a "modernization" kit to upgrade the previous models to 16 filament voltages. If the old 142/143 is your tester, you can still use these test set-up charts, but take care to use the filament voltage one setting lower than what is specified if your tester doesn't have the same filament voltage setting. In 1958, Allied figured out that this tester could test around 600 different tube types, so by 1960 they named it the Model 600. It was never called the KG-600. In 1963, the Model 600-A was available. It was not identified as the KG-600A, just Model 600-A. This model added three more sockets that could test 5-pin Nuvistor, 9-pin Novar, and 12-pin Compactron tubes. Plus the 9-pin miniature socket was changed to the 10-pin miniature with the center pin. It was available under these part numbers: 83YX636-J (kit portable with lid), 87YX518-J (factory portable with lid), 83YX635-J (kit countertop no lid), and 87YX519-J (factory countertop no lid). In 1964, Allied formalized their Knight Kit naming convention, and the Model 600A became the KG-600B. Functionally, these testers are the same, but the KG-600B sports a new paint job with its model number proudly on the faceplate. Plus, Allied changed and modernized the test procedures. At this time, new test set-up charts came out that had a radically different format from the prior models. These charts identified the GAS TEST lever to be used. Prior charts had you look up the tube internals in a tube manual to perform the GAS TEST. Also, the new test set-up format used the high voltage "A-CIRCUIT" switch setting of 4 for many if not most tubes. This seemed to make the emission tests a little more lenient, but made the gas test better. The KG-600C came out in 1969 and was only available in the portable with lid case (p/n 22A3212X). It added the 10-pin Decal, 9-pin Magnoval, and 2-pin rectifier sockets. This tester was advertised as being able to test over 2,500 tubes! I'm pretty sure the tube set-up charts offered here include at least that many tubes. Choose Your Book If you have the very old Knight Model 142 or 143 with 14 filament voltage settings, choose the Model 600 book. It's the closest I have for your tester. If the test chart filament voltage does not exist on your tester, substitute the voltage setting with the closest one that's smaller than the chart voltage. If you have the Knight tube tester with 16 filament voltages and without the 5-pin Nuvistor, 9-pin Novar, and 12-pin Compactron sockets, choose the Model 600 book. This is your tester. If you have the Knight tester with 16 filament voltages plus the Nuvistor, Novar, and Compactron sockets, but without a model number on the faceplate, choose the Model 600-A book. This is your tester. If you have the Knight tester that has the model number KG-600B, then choose the Model KG-600B book. This is your tester. If you have the Knight tester that has the model number KG-600C, then the Model KG-600B book is the closest I have at this time. The schematic is very similar, and the only difference is the addition of the Decal, Magnoval, and rectifier sockets. The Decal and Magnoval sockets are wired pin-for-pin to the corresponding lever switches. If you only need the tube test set-up charts, then choose Charts Only. This book has no manuals or construction info. It does have testing instructions for both the newer and older set-up charts. Test Set-Up Charts Included Allied published two different test methods for their line of Knight "Series 600" testers. The older test method is very similar and often identical to the tests used with the EICO or Heathkit emission testers. That's the test method that was originally developed by Triplett. For the Knight testers, this test method requires you to look up the tube internals to perform a gas test. The newer test method updates the short test and adds a gas test simplification that doesn't require you to look up the tube's internals. The new test set-up format also changed the emission test parameters for many tubes. The "A - CIRCUIT" switch was set to 4. This setting uses the 250V plate voltage instead of 30V. The lever switch settings are often different too, especially related to the cathode and control grid pins. My experience is that the emission test became a little more lenient, and the gas test was improved. The best tube set-up charts for both test methods are included in this collection. The reason older charts are included is because both Coletronics and Knight would drop older tubes from their newer charts. Included are the following set-up charts: Newer Style:Roll Chart Copy (8-1/2 x 11), 8-1-66Coletronics "Tube Data", 7-1-77Knight Tube Chart, 8-1-66 with 1967 AdditionsKnight Tube Chart, 5-31-64Knight Tube Chart, 12-31-61Undated Knight Tube ChartOlder Style:Roll Chart Copy (8-1/2 x 11), undated circa 1963Obsolete and Less Popular Tubes, circa 1958Tube Data Supplement List, update to 1956 roll chartPicture Tube Test Data, undatedLarge Supplementary Tube Chart, undated, circa 1963Please let me know if you have any questions.
You may also like