| All returns accepted | ReturnsNotAccepted |
|---|---|
| Custom Bundle | Yes |
| Item Width | 0.5 in |
| Material | Plastic |
| Type | Fastening Supplies |
| Color | White |
| Item Thickness | 3mm |
| Item Weight | 0.5 oz |
| Brand | Kindmill Music Group |
| Suitable For | Booth |
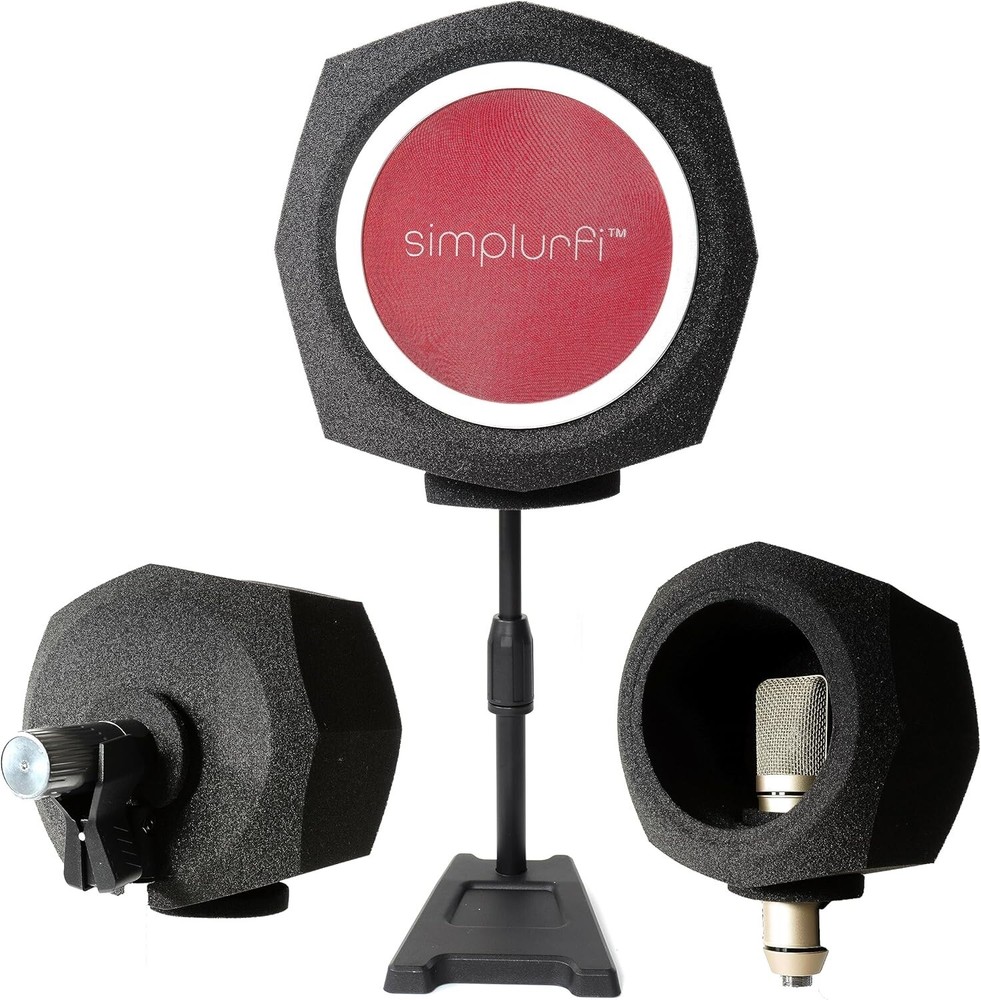
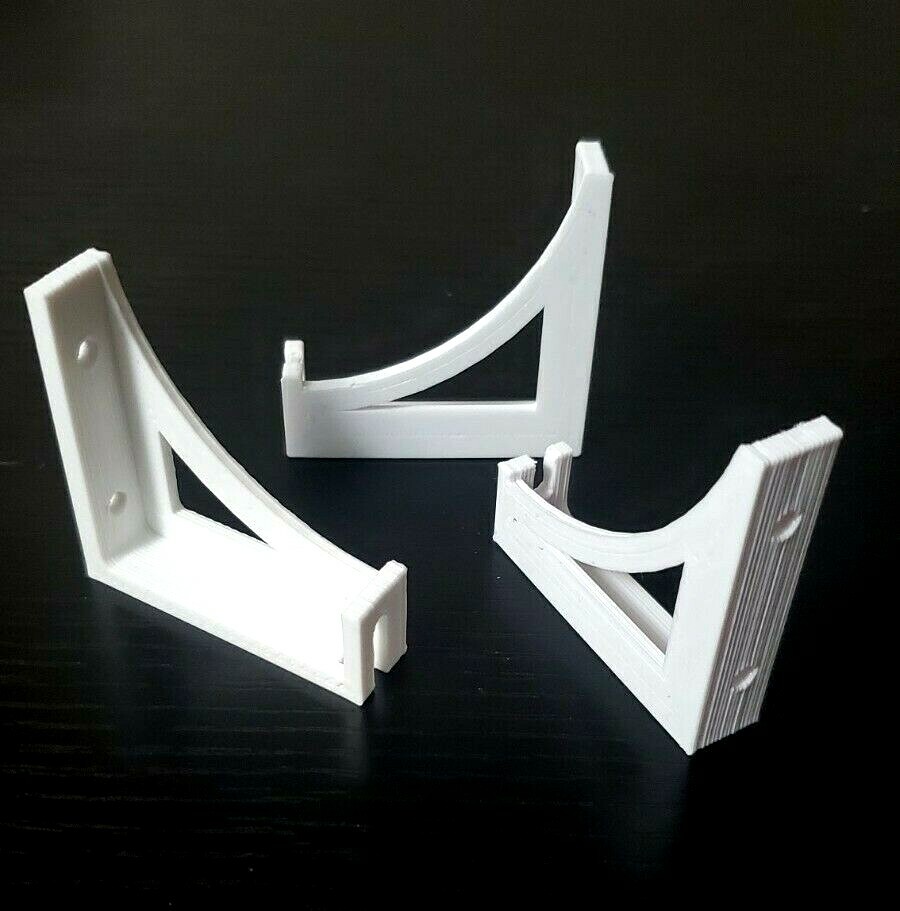
Check the listing for details. Acoustic Panel Wall Standoff / Offset Bracket (select kit). Color: White, Condition: New. Listed at 3.00 USD. These are used to suspend acoustic panels away from a surface to lower their effective absorption range (up to 1 octave). I engineered these as a more elegant alternative to the traditional steel impalers or z-clips we commonly use. Although there's no real benefits over steel brackets aside from aesthetics, it's a more competitive price (about half). The bracket fastens two screws in the back of the panel, and the fork slips over a single screw in the wall (or ceiling). - The Floating Kit loads the panel's vertical weight on the two upper brackets, and rests the pivoting weight on a discrete dowel at the inner bottom of the panel. - The Ceiling Kit can be used vertically or horizontally and is a more robust bracket set for all four corners, of which the bottom two share vertical load with their own set of sliding forks. For vertical panels, outside of aesthetics this shouldn't be necessary unless your frame is unusually robust or contains a light fixture. Note: The brackets are not omnidirectional; they come as a set. Each corner is a different design (so the finished end faces out). You can order single pieces, if needed. These are made to order - if you need more than 10 frame sets, expect a couple extra days of lead time. Dimensions: 2x2x0.5 or 3x3x0.5" Weight: 0.5 oz Floating Kit load limit: 17lbCeiling Kit load limit: 25lb Mullen crush rating: 127lbs Tensile stress limit: 25lbs Torque limit: 11lb-ft Color: cool white Finish: plastic, paintable Installation (see images):NOTE - these are designed to be wall-mounted with #6 size screws. For fastening to the panels, you can use as small as #3. I recommend using self-drilling screws or pilot holes to prevent splitting the frame. In any case, these brackets are plastic; do not use excessive torque when screwing into them.1. Attach all brackets to the panel first, flush with the outer edges. If equipped with dowels, the extended plate can be snapped off or used to align it with the inside of the lower wood furnishing for open-backed panels. There is no particular mounting position for these as long as it's symmetrical.2. Mark the top of your panel on the wall, and measure down 10mm (3/16") this is the center of the mounting screw. Drive in the screw with a 3/16 gap (enough to clear the bracket) to the wall and hang one of the top brackets to it - while supporting the weight of the panel by hand - don't allow it to dangle from one bracket, they're strong but not designed for side-loading torsion).3. Set a level on top of the panel, and mark the screw center of the second top bracket. Remove the panel, drive that screw in and reinstall the panel. Check the level again - if it's off, raise the lowest corner until it's right and use a short screwdriver to tighten the hanging screw to keep it in position. For floating kits, the installation is now finished. * if you find the screw positions are just slightly off center and you can't reposition them, you can anneal the brackets with a hair dryer or heat gun to persuade them into submission. Just be aware you can only do it once, and don't allow them to hold weight until they have time to cool down. Alternatively a heated screw or exacto knife can also carve out a better seating spot.4. For lower brackets, now is the time to mark those screw centers with the panel in its ideal position. Then, loosen the upper screws and remove the panel. Drive in the lower screws to a 3/16" gap and reinstall the panel, paying attention to the channels that the lower screws have to slip through. 5. Re-level the panel, tighten the upper screws if needed, and always tighten the lower ones. The job is complete.6. For ceiling installation, complete step 1. Then, measure the full width of the panel from the outside of the "top" brackets, and subtract 16mm (3/8") to find screw center. Mark those positions on your mounting surface, double check that it aligns between the forks on the brackets, and drive in screws to a 1/4" gap.7. Install the panel keeping all four brackets against the surface, mark the "lower" bracket centers, and remove the panel. Drive in the lower mounting screws to 3/16" gap, and reinstall the panel, focusing on threading the lower screw heads into their channels, as they're more finicky than the tops. Tighten all four screws, and the job is complete. *Pro tip, if your ceiling panel insulation starts sagging into the fabric causing bumps and ripples, you can push bailing wire through the insulation and staple it to the rear of the frame to add some rigidity and suspend it away from the face.
You may also like